Installation
The intended use of this pipeline is through the use of Singularity or Docker image.
Note
Please refer to Docker Desktop license agreement if you are using Option 2: Docker. Basically, if you are working at a research institute that has more than 250 employees AND more than $10 million in annual revenue, you need a paid subscription to use the service.
Option 1: Singularity
If you are new to it, start by installing SingularityCE following this
instructions .
This page assumes users to install SingularityCE 4.2, the latest version as of Dec 18, 2024.
As the guide specifies, SingularityCE cannot run natively on Windows or Mac.
On a Windows Machine
Please refer to this blog
to install Windows System for Linux (WSL2) and then install SingularityCE.
Note
Ubuntu 22.04.5 (LTS) has been tested instead of 20.04 (LTS) showcased in the blog post. Also, you may need to install more dependencies than what’s described in the blog post. Prioritize this page when installing system dependencies.
On a Mac Machine
Please refer to this guide to install SingularityCE with lima.
Your institution’s firewall setting may interfere with the installation. Then an alternative option is to use vagrant. Again if your institution’s firewall setting is strict, please download the virtual box using --insecure argument (check the accepted answer to this posting).
Then use the following command to pull the docker image as a Singularity:
singularity pull docker://inclab/hbcd_motion_postproc:<version_num>
where version_num denotes the specific version of the container. All available
versions of the container can be found here.
If you are unsure of which version to use, use the tag: latest.
The full usage details can be seen under the Usage section, but
the basic command to run the container using Singularity is as follows:
bids_dir=/path/to/bids_dir
output_dir=/path/to/output_dir
container=/path/to/container
analysis_level=participant

singularity run -B $bids_dir:/bids \
-B $output_dir:/out \
$container /bids /out $analysis_level
where the following folder hierarchy is assumed in this case:
bids_dir/
|-- participants.tsv
|-- participants.json
|-- sub-<label>/
|   |-- sub-<label>_sessions.tsv
|   |-- sub-<label>_sessions.json
|   |-- ses-<label>/
|   |   |-- motion/
|   |   |-- sub-<label>_ses-<label>_scans.tsv
|   |   |-- sub-<label>_ses-<label>_scans.json
Note
Please create your output_dir before running Singularity if you are running WSL2. Also, bids_dir and output_dir needs to be provided as absolute paths (ex. /Users/user1/Documents/DATA, /home/user1/Documents/DATA or C:/Documents/DATA).
Option 2: Docker
Again, if you are new, start by getting Docker Desktop using
this link .
If you are a Mac user, refer this website to determine the architecture of your machine (Apple silicon vs. Intel chip).
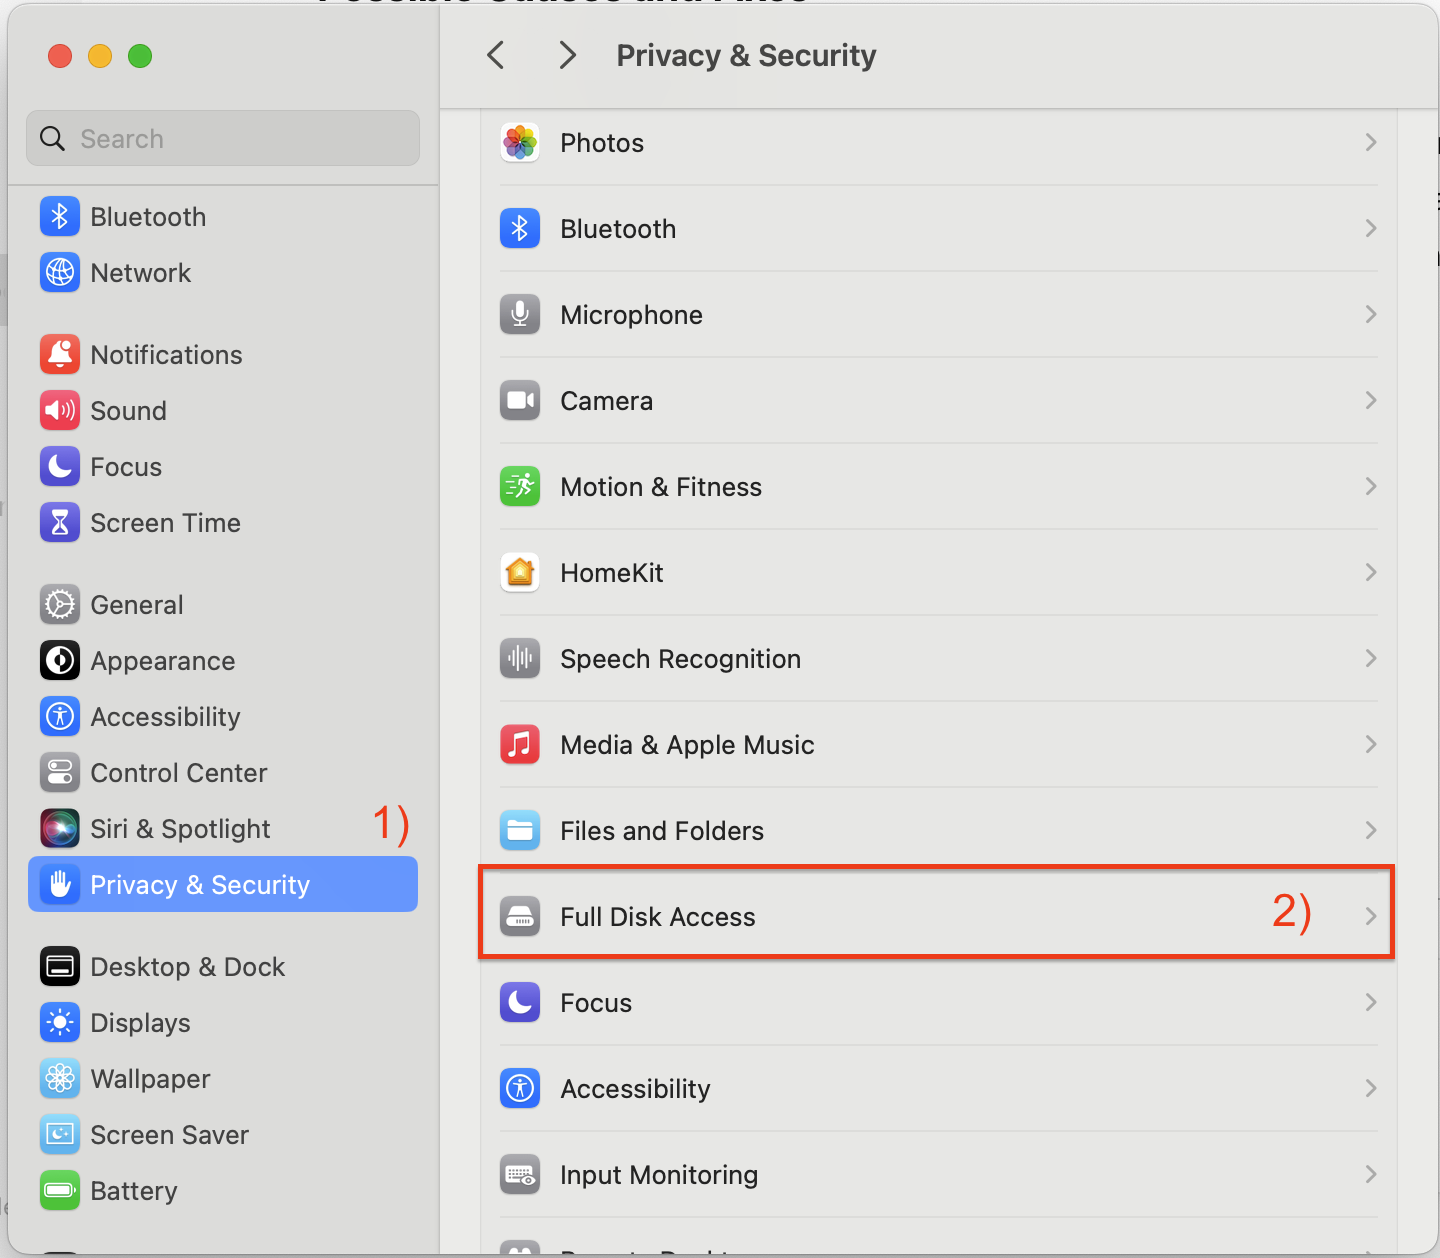
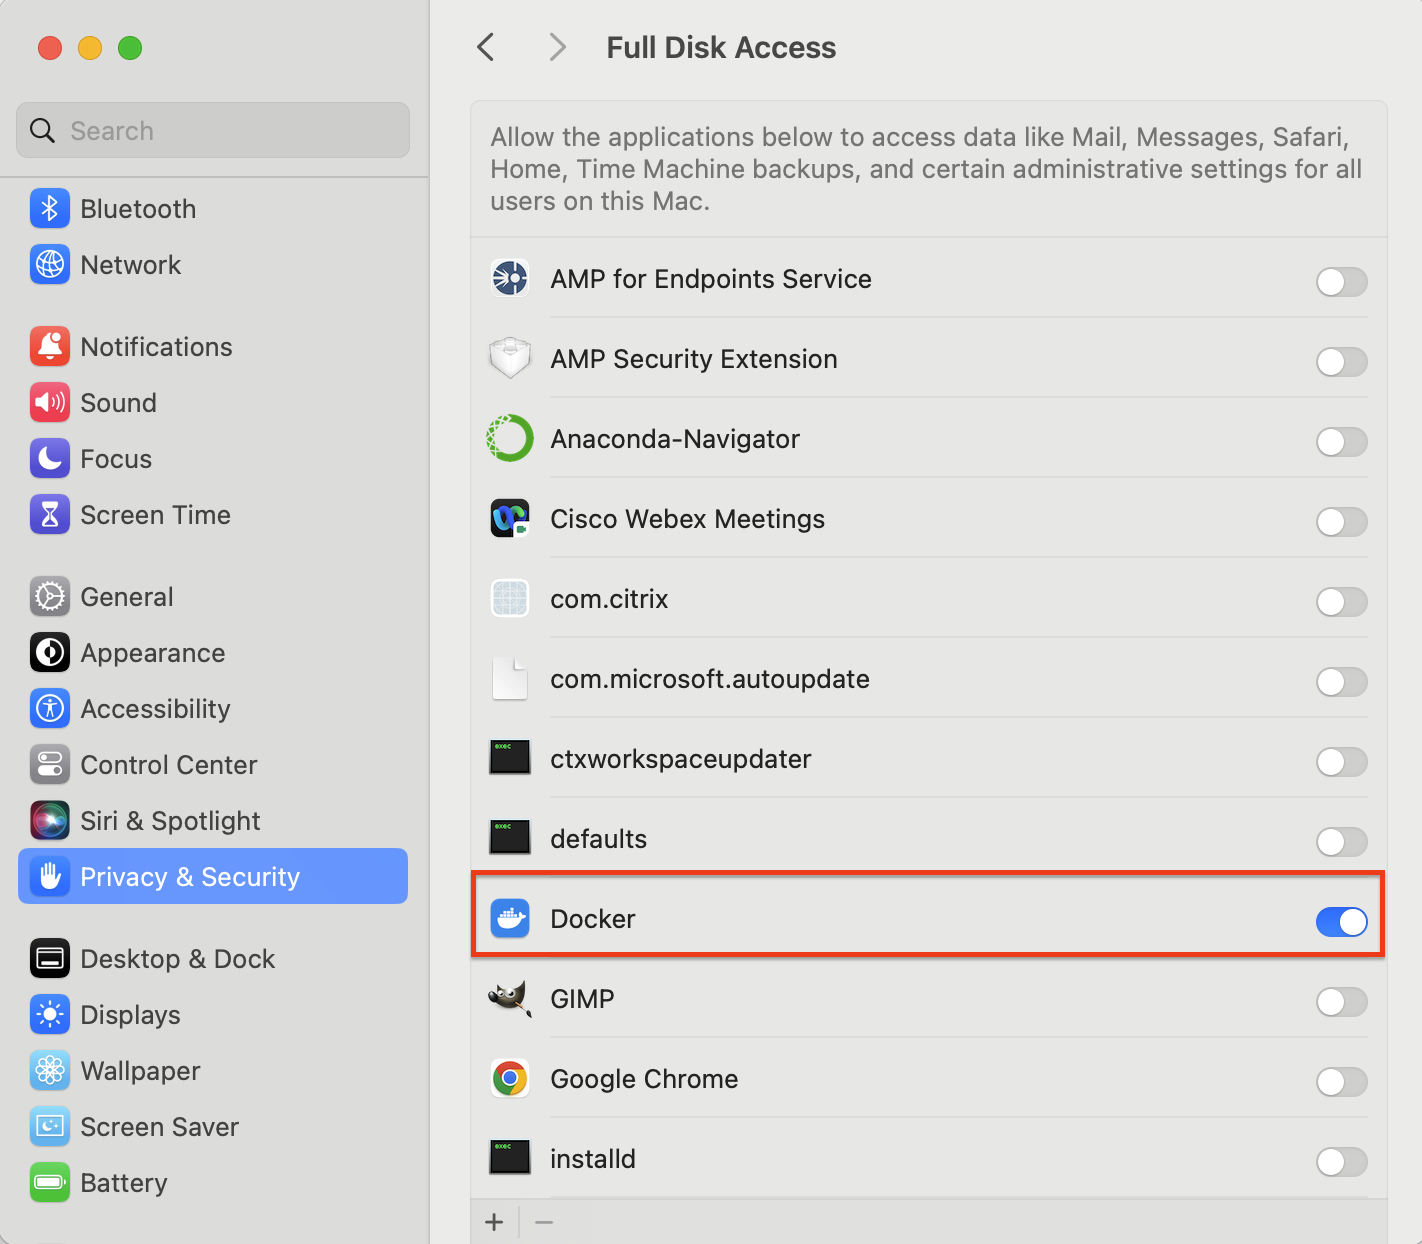
After installing Docker Desktop, please go to System Settings and manually grant full disk access to Docker.
If you don’t see Docker from the list, click ‘+’ button at the bottom left, select Applications and add Docker.
Finally, run the application. This will launch the Docker Daemon
and you will be able to use the docker pull command
described below.
Use the following command to pull the docker image. Again, if unsure of the version to use,
use the tag: latest.
docker pull inclab/hbcd_motion_postproc:<version_num>
Running the container using Docker is similar to doing so with Singularity. Here is the basic command:
bids_dir=/path/to/bids_dir
output_dir_name=HBCD_out
analysis_level=participant

docker run -it -v $bids_dir:/bids_dir \
inclab/hbcd_motion_postproc:<version_num> \
/bids_dir /bids_dir/$output_dir_name $analysis_level
Note
Processing output will be stored in the folder named HBCD_out under bids_dir. Similar to the use of Singularity, bids_dir should be provided as an absolute path.
For Advanced Users: Building the image from the scratch
The image can be built using the Dockerfile found in the repository.